A site visit might not be the most glamorous part of video production, but it could be one of the most important. The difference between a smooth shoot and a day of “Wait, where are we putting that?” often starts with a little time spent walking around a location.
A site visit is where you figure out what the space can do, what it definitely cannot do, and how to make the most of both. It’s part logistics, part problem-solving, and part creative treasure hunt.
See the Shoot Before It Happens
The best way to approach a site visit is to stop looking at the space like a visitor and start looking at it like a production team.
Where will talent arrive? Where will they wait? Where will the interviews happen? Where will the camera go? Where will the crew work? How are we getting all this gear from the parking lot to the actual room? Where are we going to put everything?
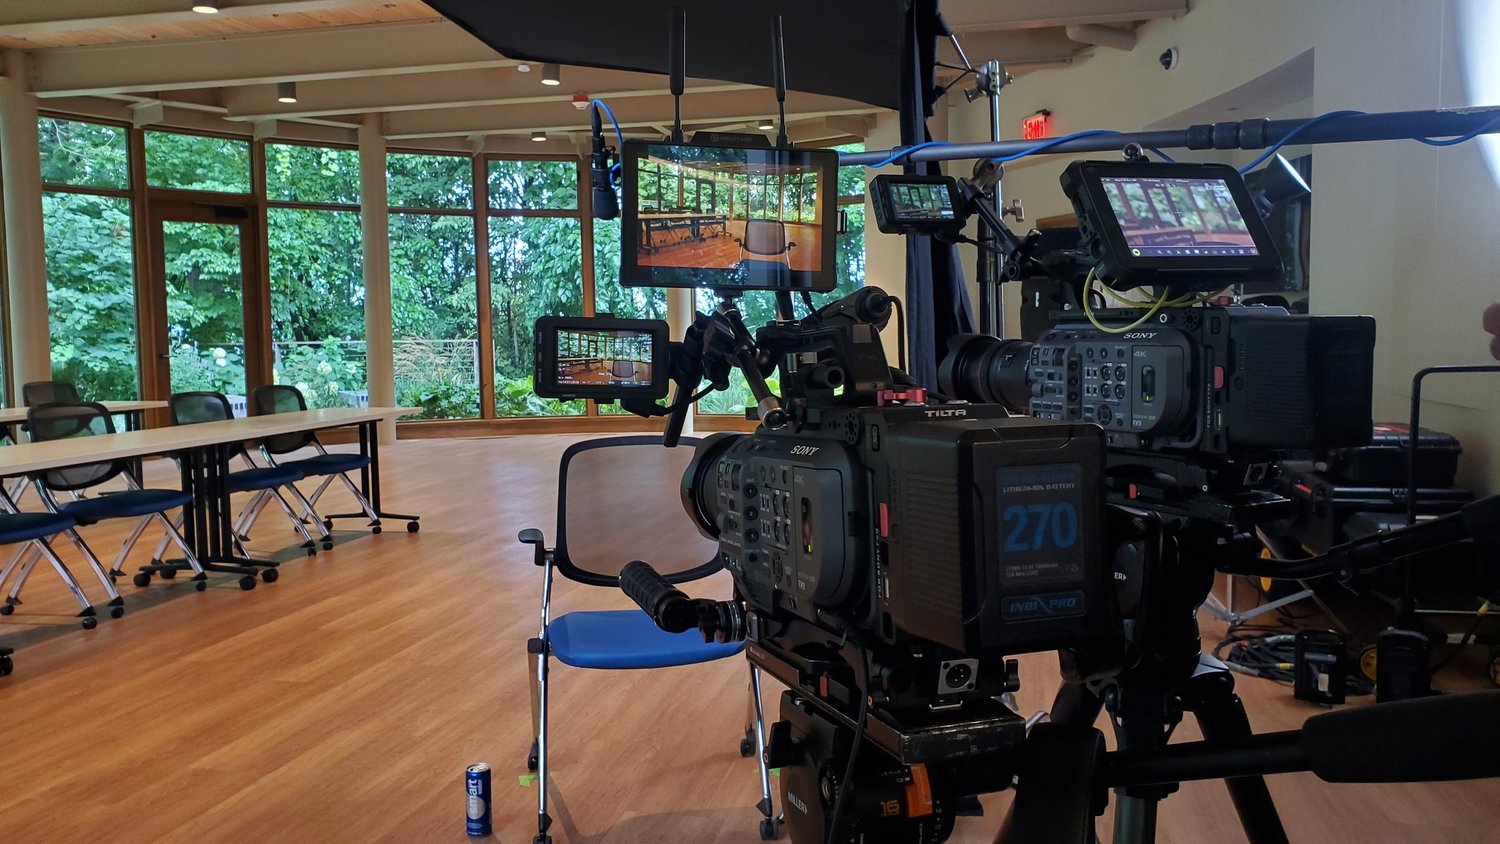
A room that looks spacious before the shoot can feel surprisingly cozy once you add cameras, lights, audio equipment, crew, etc. Walking through the production ahead of time helps you catch those little things before they become big things.
What to Look for During a Site Visit
1. The Space: More Than Just Four Walls
Start by thinking about how the location will actually be used.
Where will interviews take place?
Is there enough room for cameras, lighting, audio, and production?
Where will talent, crew, and equipment enter and exit?
Are there multiple areas that could provide visual variety?
Can the space accommodate the number of people expected on shoot day?
Are there stairs, narrow hallways, elevators, or other access challenges?
Is there a place for talent to wait, change, or take a break?
And don’t just focus on the “main room.”
The hallway. The break room. The parking lot. That weird little corner with surprisingly good light.
Sometimes the best shots are in the places you weren’t even thinking about when you walked in.
2. Lighting: The Sun Has a Schedule
A room can look beautiful when you visit it. But what will it look like when you’re actually filming?
That’s the question.
Pay attention to:
Where natural light is coming from
How the light changes throughout the day
Whether windows will need to be covered
Whether existing fixtures are helpful or distracting
Whether additional lighting will be needed
Whether there are enough power outlets near your setup
A room that looks great at 10 a.m. may look completely different at 3 p.m.
If you’re planning an interview, you probably don’t want your subject slowly disappearing into a sunbeam halfway through their answer.
Good lighting starts with knowing how the location will change throughout the day.
3. Sound: Listen Before You Fall in Love With the Room
One of the easiest things to overlook on a site visit? Sound.
A location can look incredible and sound like a washing machine.
Listen for:
HVAC, fans, refrigerators, or other mechanical noise
Traffic, trains, airplanes, or nearby construction
Echo or excessive room reverb
Foot traffic and doors opening and closing
Loud neighboring rooms or businesses
Phones, alarms, or equipment that may interrupt recording
The question isn’t just, “Can we film here?” It’s “Can we record clean audio here?”
If not, is there another room? Can the noise be controlled? Would a different time of day help?
“We’ll fix audio in post” is not a production strategy.
4. Backgrounds: The Location Is Part of the Story
This is where the site visit gets fun.
Look for interesting backgrounds, environmental details, brand elements, and areas that communicate the organization’s work.
Where do people naturally interact? What spaces have depth? What details help explain what this organization actually does?
For documentary-style work, the environment is part of the story. A person talking about their work in the actual space where they do it can often be more powerful than a generic interview setup. A piece of equipment. A workspace. A hallway. A familiar routine. Those details can make a video feel more authentic and help the audience understand the people behind the work.
Sometimes the location itself reveals a storytelling angle you hadn’t considered.
The Questions Worth Asking
A site visit is also a chance to get answers that will help the entire production team plan more effectively.
About the Shoot
What areas are available to us on the shoot day?
Are there any areas we cannot use?
Will the space be occupied or active during filming?
Are there any events, meetings, or activities happening that day?
Who will be our main point of contact?
Who has final approval on where we can film?
About the People
Who will be on camera?
Who will be available to help coordinate talent?
Are there any accessibility needs we should plan for?
Will anyone need a private space to prepare or take a break?
Are there any people or activities that should not be filmed?
About the Location
Are there any restrictions on filming, lighting, or sound?
Can we move furniture or equipment?
Can we turn off HVAC or other noisy equipment?
Are there any areas that require special permission?
Are there any privacy, security, or confidentiality concerns?
Are there any rules about filming signage, screens, or personal information?
About Timing
What time can we arrive?
What time can we begin filming?
When does the location become available?
Are there any time-sensitive activities we need to capture?
What time does the location need to be cleared?
Getting these answers ahead of time helps prevent surprises and gives the production team a much clearer picture of what’s possible.
What to Bring
You don’t need to bring the entire production truck to a site visit, but a few essentials can make it much more productive.
Camera or phone: Take reference photos and videos of the space.
Tape measure: Helpful for interview setups, equipment placement, and access.
Notebook or production notes: Record observations, questions, and potential issues.
Flashlight: Useful for checking darker areas, corners, and potential equipment placement.
Production schedule or shot list: Helps you evaluate the location against the actual needs of the shoot.
Floor plan or location map: If available, mark interview setups, equipment staging, and access points.
A few key crew members: If possible, bring the people who will actually be working on the shoot. You don’t need the entire production team, but having the right people there can help you catch things that one person might miss.
Turn Your Site Visit Into a Production Plan
The real value of a site visit comes from what you do with the information afterward.
Take reference photos of potential interview locations, lighting conditions, equipment access points, and areas that may create logistical challenges. Then organize your notes into something the whole team can use.
A simple site visit report might include:
Location overview
Interview setup recommendations
B-roll opportunities
Lighting considerations
Sound considerations
Access and parking details
Equipment needs
Potential challenges
Questions that still need answers
Photos of key areas
This gives everyone a shared understanding of the location and helps keep pre-production moving.
It also makes it easier to communicate with the client. Instead of simply saying, “We’ll figure it out when we get there,” you can explain what you’ve identified, what you recommend, and what needs to happen before the shoot.
Identify Your Must-Haves & Nice-to-Haves
Not every location will be perfect. The key is knowing what matters most.
Must-haves:
A workable interview space
Clean audio
Enough room for equipment
Access for crew and talent
Permission to film
Nice-to-haves:
Beautiful natural light
Multiple B-roll locations
Interesting architectural details
A visually compelling background
This helps you make smart decisions without getting stuck trying to make every space work.
Because sometimes the “perfect” location is the one that works really well, not the one that checks every single box.
Look for Creative Opportunities
A site visit is your chance to discover things you didn’t know were there.
Maybe the client mentioned a “simple office,” but you find a great outdoor space, a unique piece of equipment, or a natural interaction that could become a key moment in the story.
Maybe the interview location is fine, but another room offers better depth, more interesting light, or a stronger connection to the subject.
The best creative discoveries often happen when you’re physically in the space.
That’s especially true for documentary-style projects, where the environment, the people, and the small details can become just as important as the planned interview questions.
A Simple Site Visit Checklist
Before you leave, make sure you’ve covered the essentials:
☐ Confirm the location and access details
☐ Identify interview locations
☐ Check lighting and sound
☐ Look for B-roll opportunities
☐ Confirm equipment access and staging
☐ Ask about restrictions and permissions
☐ Identify potential challenges
☐ Take reference photos
☐ Confirm shoot-day logistics
☐ Document next steps
The Big Takeaway
A site visit is your opportunity to see the shoot before the shoot happens.
The more you can anticipate, the less you’ll have to troubleshoot on production day. And the more you can observe, the more opportunities you’ll find to make the final video feel intentional, authentic, and visually interesting.
Good pre-production isn’t just about avoiding problems. It’s about creating the conditions for great storytelling. That starts with a walk through a room.
A site visit might not be the most glamorous part of video production, but
it could be one of the most important. The difference between a smooth
shoot and a day of “Wait, where are we putting that?” often starts with a
little time spent walking around a location.
A site visit is where you figure out what the space can do, what it
definitely cannot do, and how to make the most of both. It’s part
logistics, part problem-solving, and part creative treasure hunt. The Motion Source Video Production Blog – Motion Source | Chicago Video Production Company